> ## Documentation Index
> Fetch the complete documentation index at: https://docs.nemu.com.br/llms.txt
> Use this file to discover all available pages before exploring further.
# Creating a Dashboard
> The first step to start using Nemu is to create your Dashboard. This is where you will connect ad platforms, your sales platform, and view all your marketing and performance data.
# Account and Dashboard Structure
Nemu is organized in two levels:
* **Nemu Account:** where your data and access permissions are concentrated.
* **Dashboards:** each Dashboard is an independent analysis unit, with its own integrations, campaigns, and data.
You can have multiple Dashboards in the same account. This is useful, for
example, if you manage different brands, stores, or projects.
# How to Create a Dashboard
1. **Access your Nemu account**. If you don't have one yet, talk to our support team.
2. On the home screen, you will be directed to the **My Dashboards** section.
3. Click on **"Create Dashboard"**.
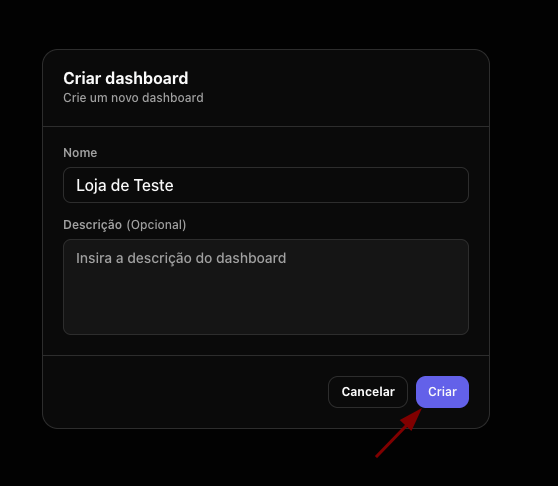
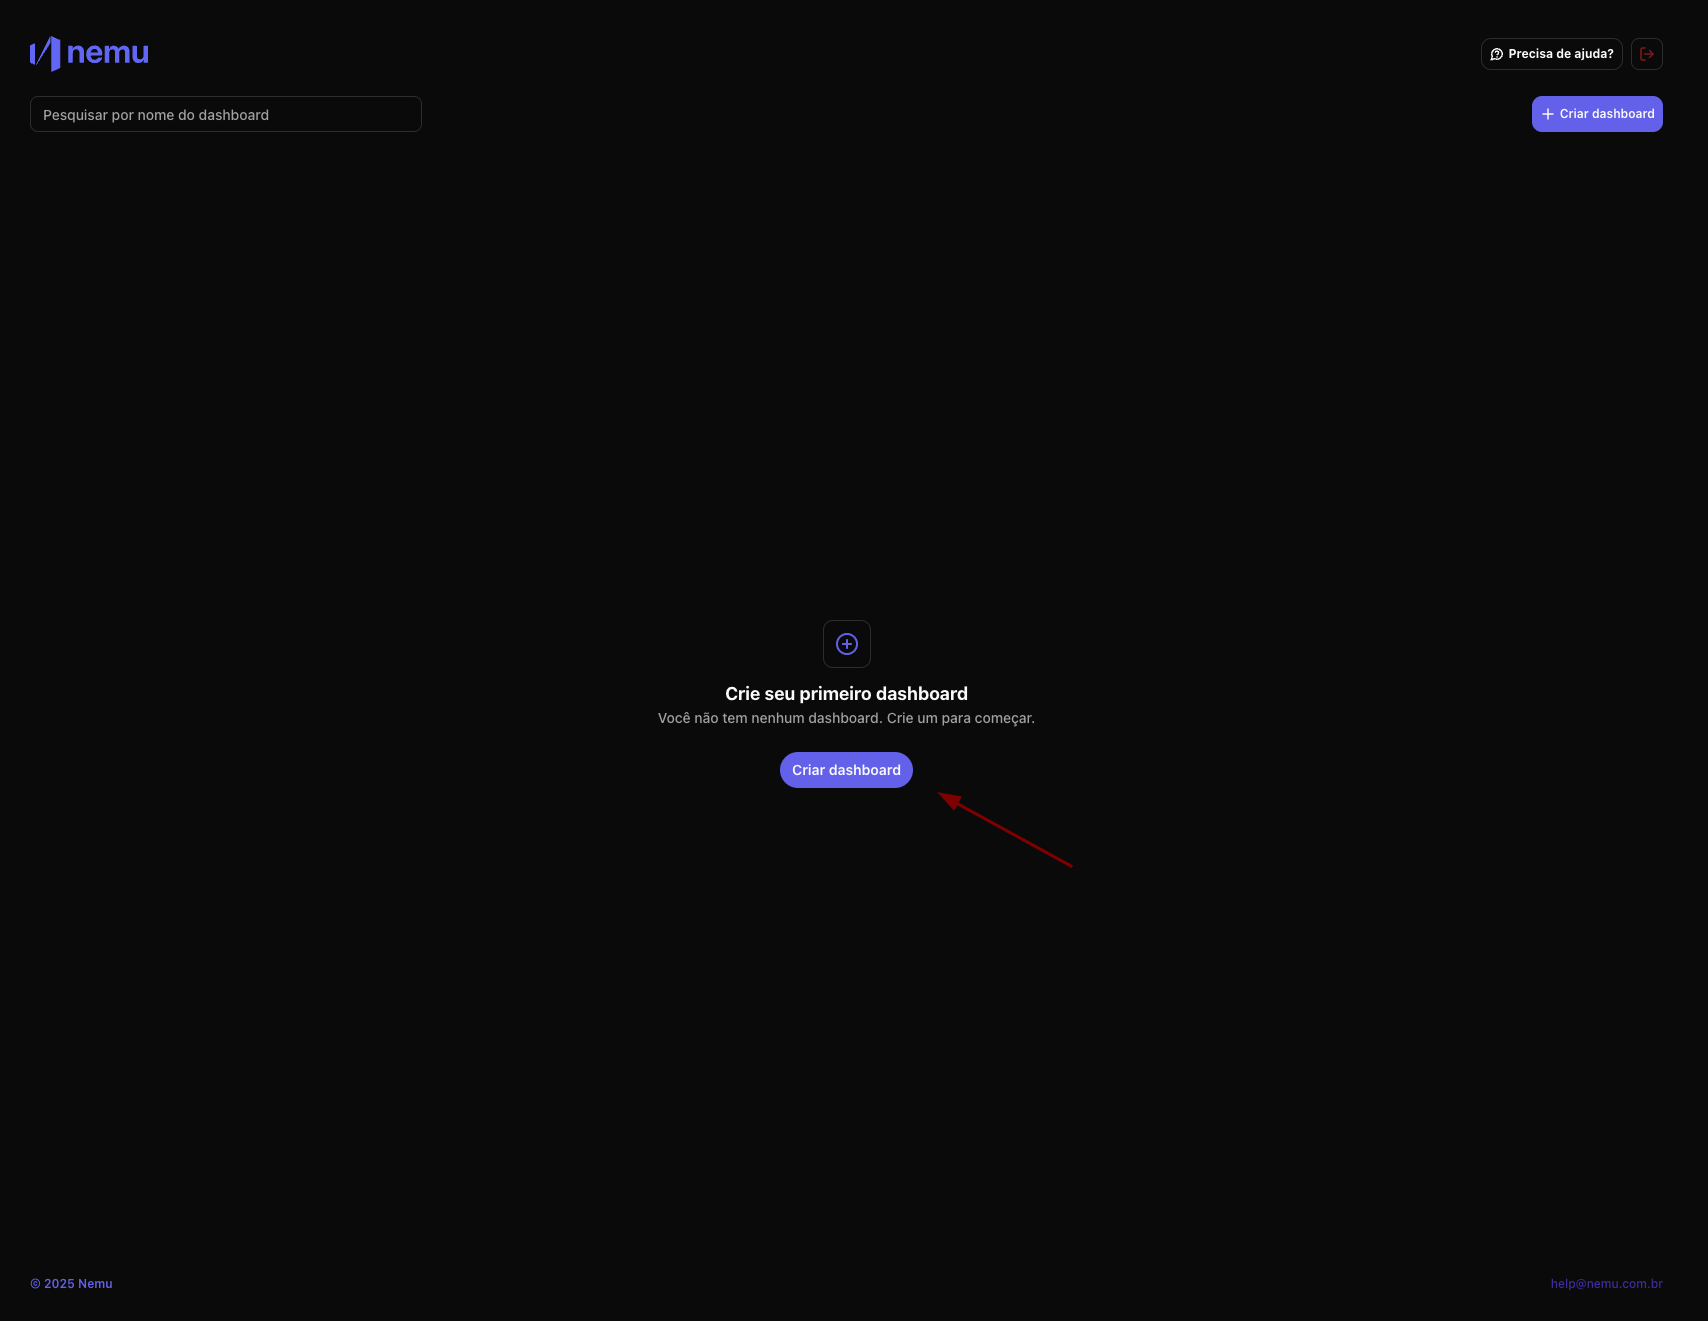 4. Give your Dashboard a name (e.g., "Main Store", "Affiliate Project", etc.).
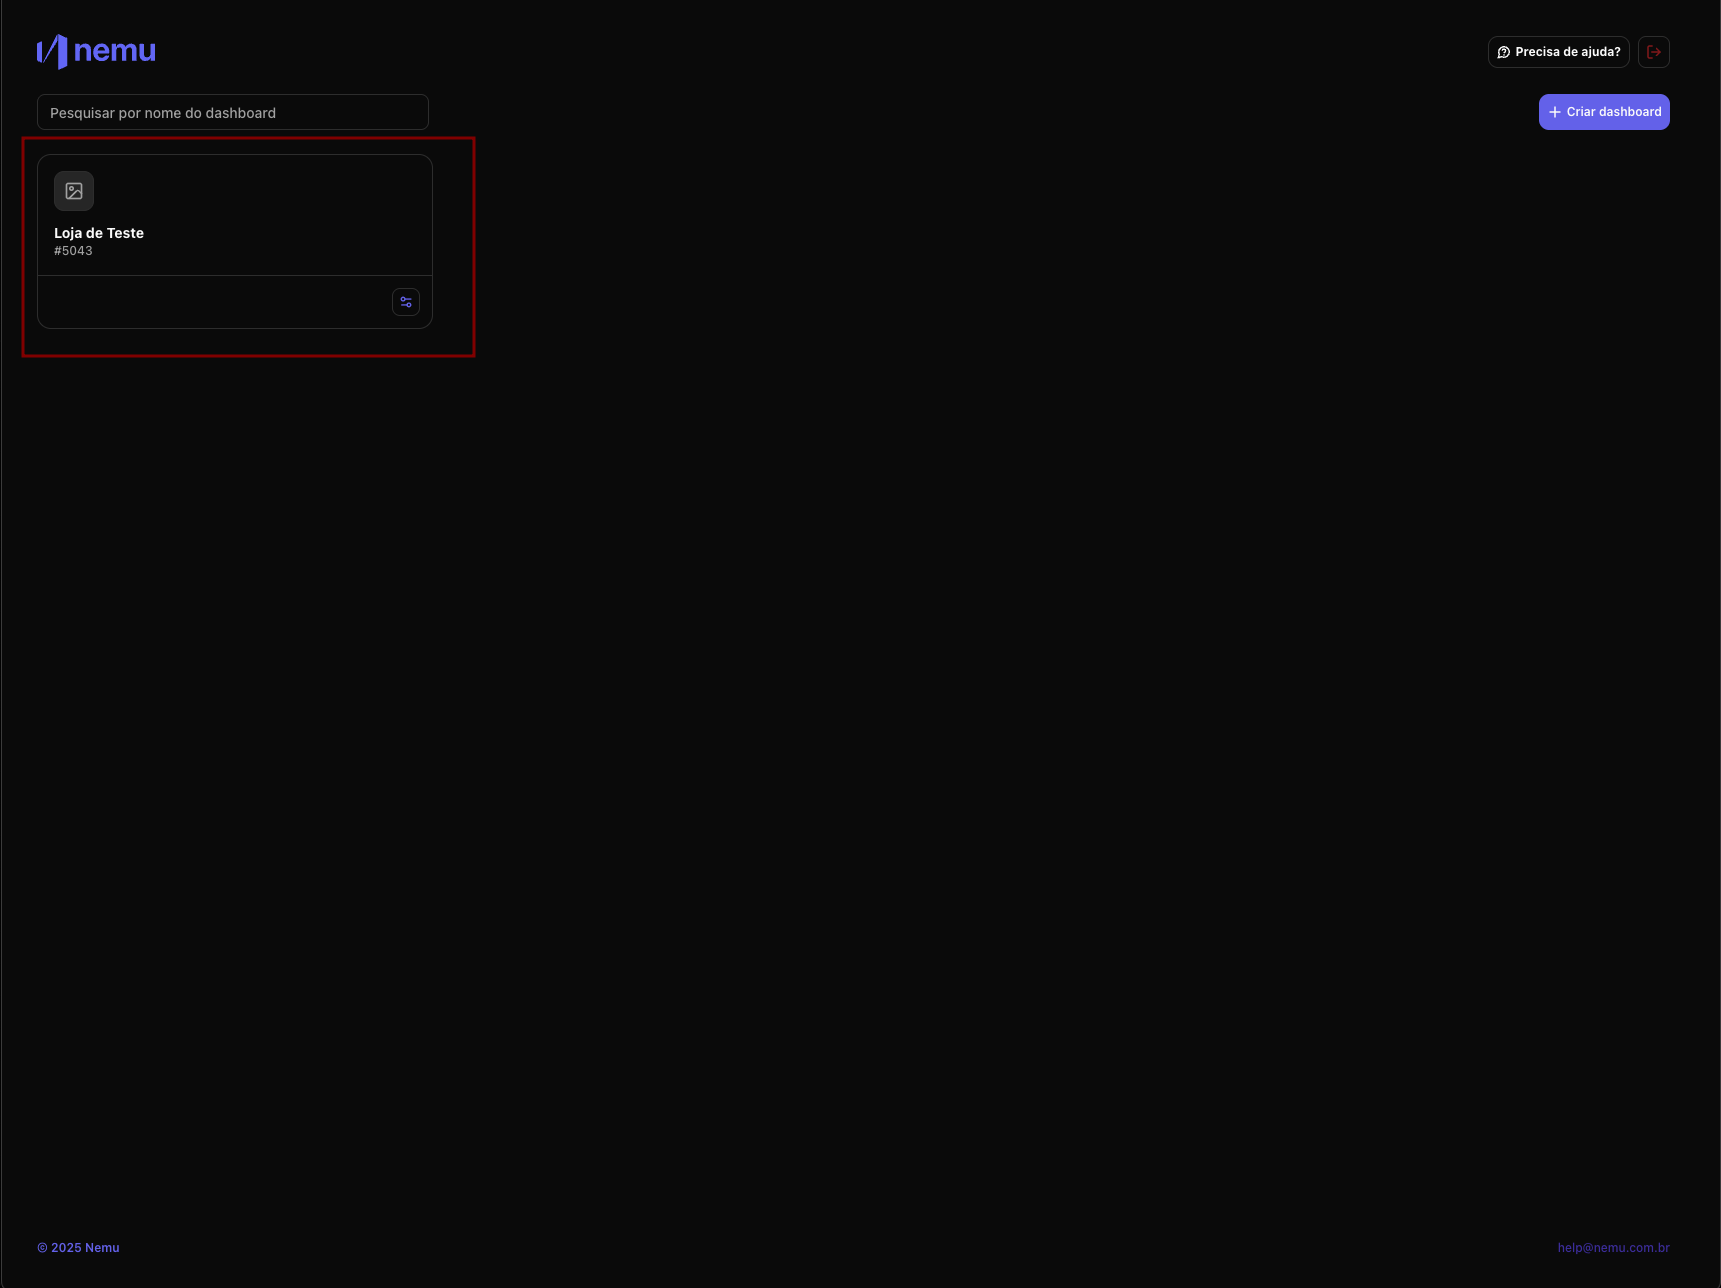
 5. After creating, you will see your new Dashboard listed.
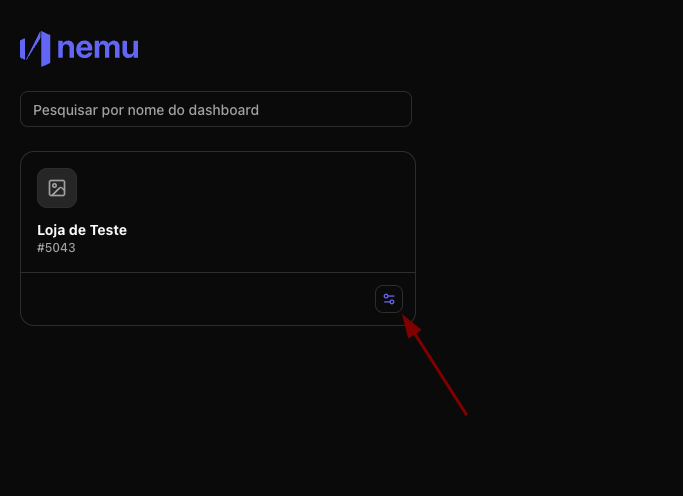
 You can edit the name, duplicate, or delete Dashboards at any time by clicking on the **settings** button.
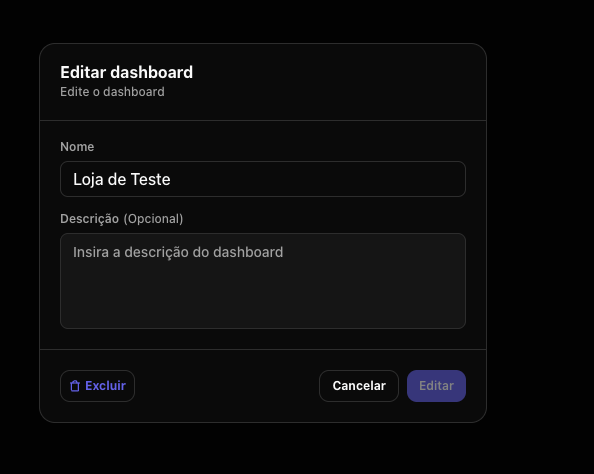 Each Dashboard needs to be configured **independently**:
* Integrations with Facebook, Google, Hotmart, Shopify, and others are done **per Dashboard**.
* Data does not mix between different Dashboards.
## Accessing Later
At any time, you can return to the **My Dashboards** screen to:
Each Dashboard needs to be configured **independently**:
* Integrations with Facebook, Google, Hotmart, Shopify, and others are done **per Dashboard**.
* Data does not mix between different Dashboards.
## Accessing Later
At any time, you can return to the **My Dashboards** screen to:
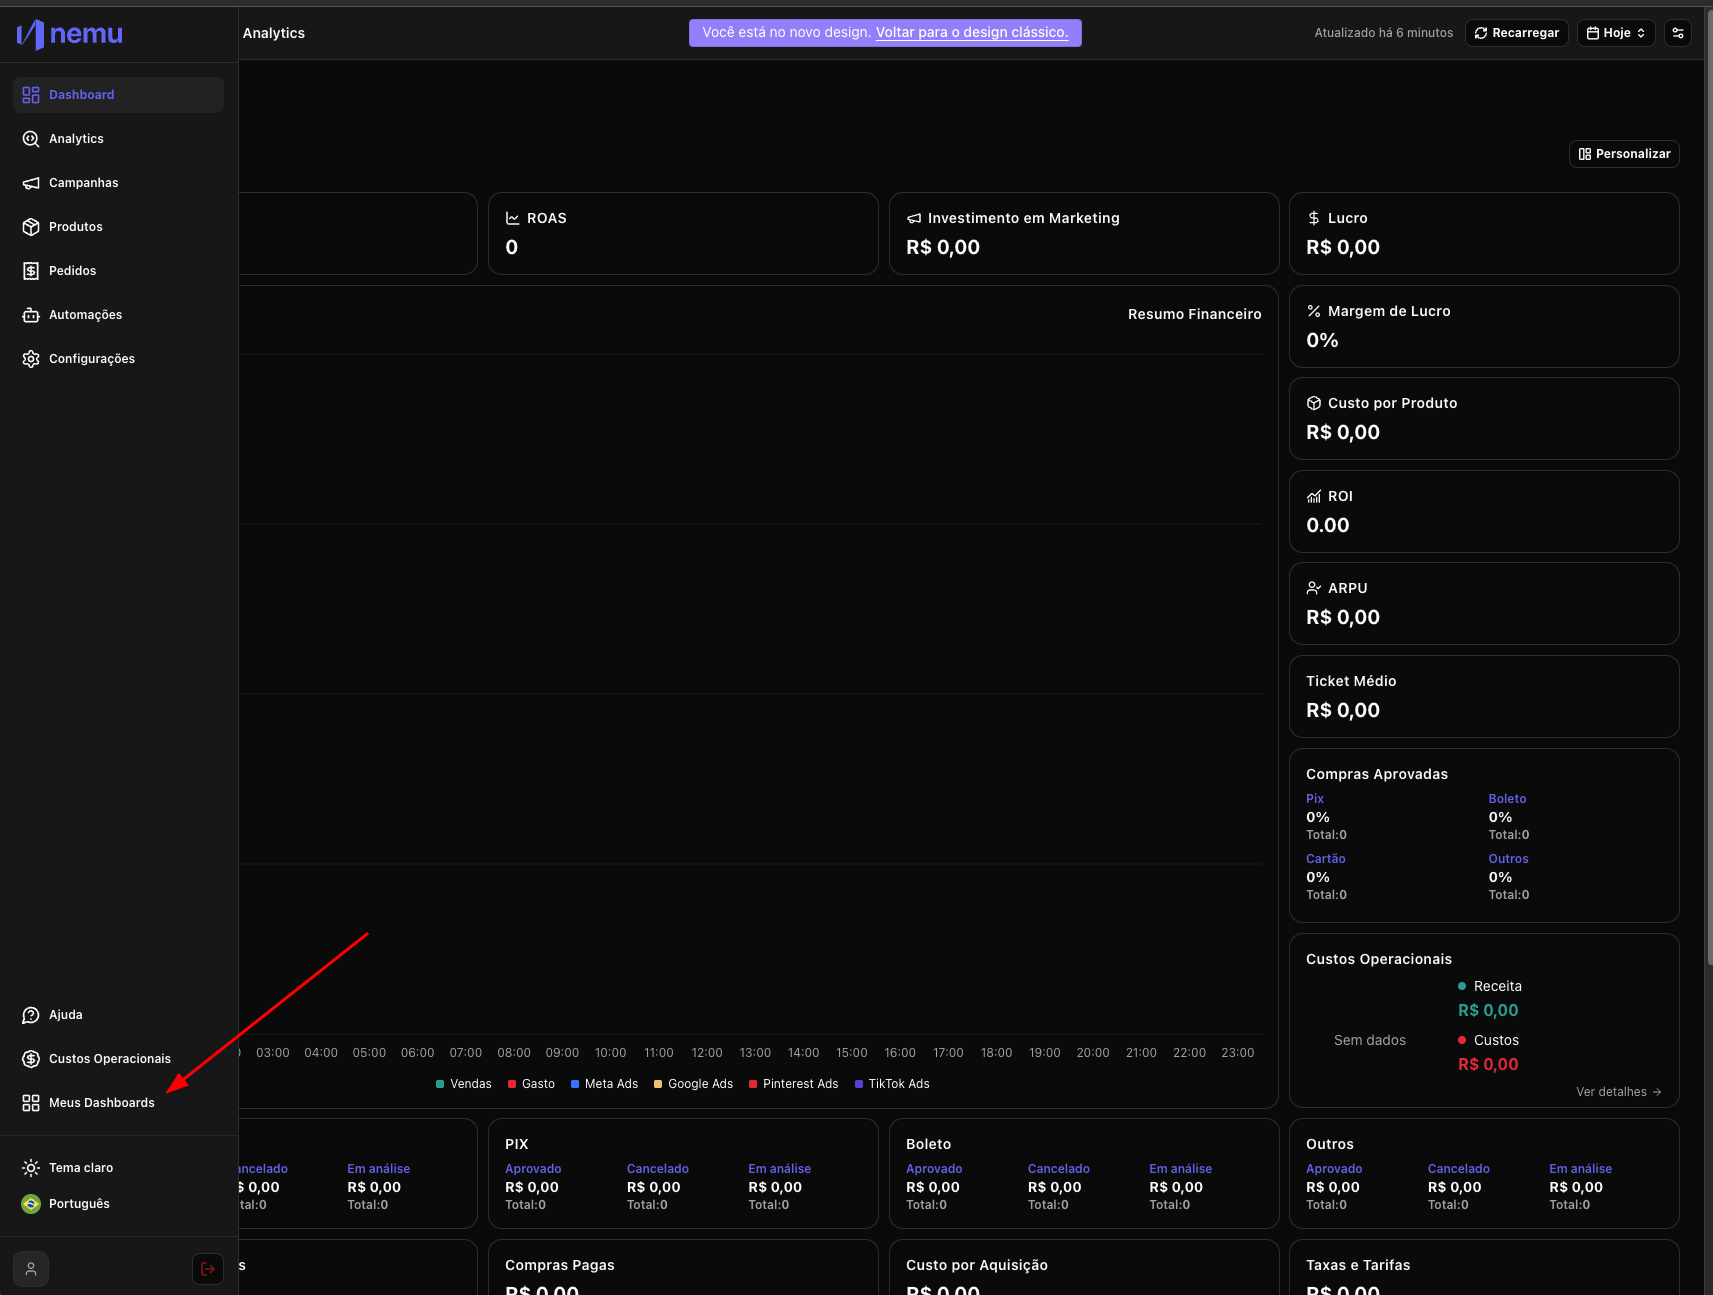 * Access your existing Dashboards
* Create new ones
* Edit your Dashboards
* Access your existing Dashboards
* Create new ones
* Edit your Dashboards