> ## Documentation Index
> Fetch the complete documentation index at: https://docs.nemu.com.br/llms.txt
> Use this file to discover all available pages before exploring further.
# Wake
> How to connect your Wake Store to Nemu Dashboard
### 1. Creating and Authenticating the Token in Wake
Wake API authentication is done through a **Token**.
This token validates the merchant's identity and grants permission to access store information.
1. Go to **Settings** > **Integrations** > **Tokens**.
2. Click on **Add Token**.
 3. Define the **Application Name** to make identification easier.
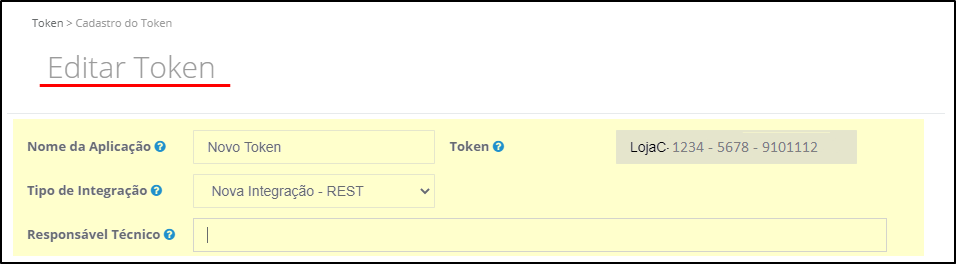 4. Configure the **permissions** that the token will have access to, ensuring it can only access authorized information.
5. In **Permissions**, select the minimum recommended access for Nemu integration:
* In the **GestorScript** category, select the **`POST`** method for `/gestorscripts/scripts`
4. Configure the **permissions** that the token will have access to, ensuring it can only access authorized information.
5. In **Permissions**, select the minimum recommended access for Nemu integration:
* In the **GestorScript** category, select the **`POST`** method for `/gestorscripts/scripts`
 * In the **Webhook** category, select the **`POST`** method for `/webhook/inscricao`
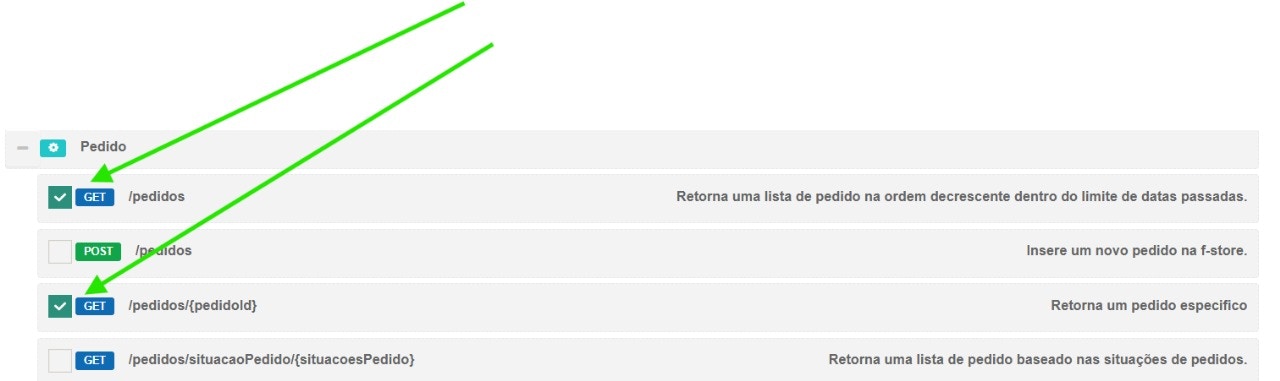
 * In the **Orders** category, select the **`GET`** method for `/pedidos` and `/pedidos/{pedidoId}`
 6. Enter the **technical responsible email**.
7. Click on **Save**.
### 2. Adding Content Security Policies (CSP) in Wake
For Nemu scripts and network calls to work correctly on your Wake store, add the following trusted origins to the **Security Policies** (CSP) in the Wake panel.
1. In the Wake panel, go to **Settings** → **Security** → **Security Policies** (or search for *Security Policies*).
6. Enter the **technical responsible email**.
7. Click on **Save**.
### 2. Adding Content Security Policies (CSP) in Wake
For Nemu scripts and network calls to work correctly on your Wake store, add the following trusted origins to the **Security Policies** (CSP) in the Wake panel.
1. In the Wake panel, go to **Settings** → **Security** → **Security Policies** (or search for *Security Policies*).
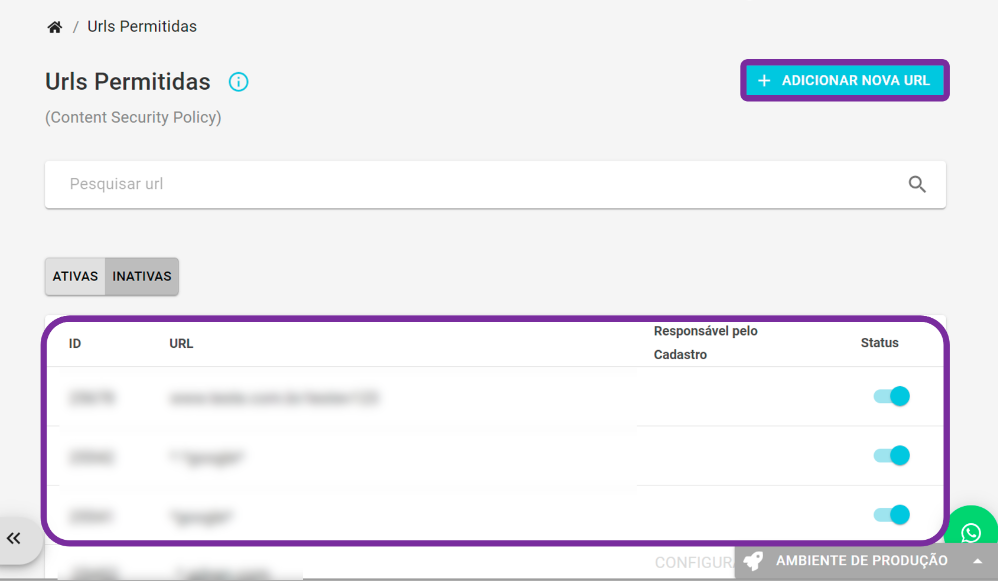 2. Add **these URLs** to the allowed domains list:
* `https://trackings.nemu.com.br`
* `https://openfpcdn.io`
* `https://ipinfo.io`
* `https://api.ipify.org`
* `https://api.bigdatacloud.net`
### 3. Connecting Wake to Nemu
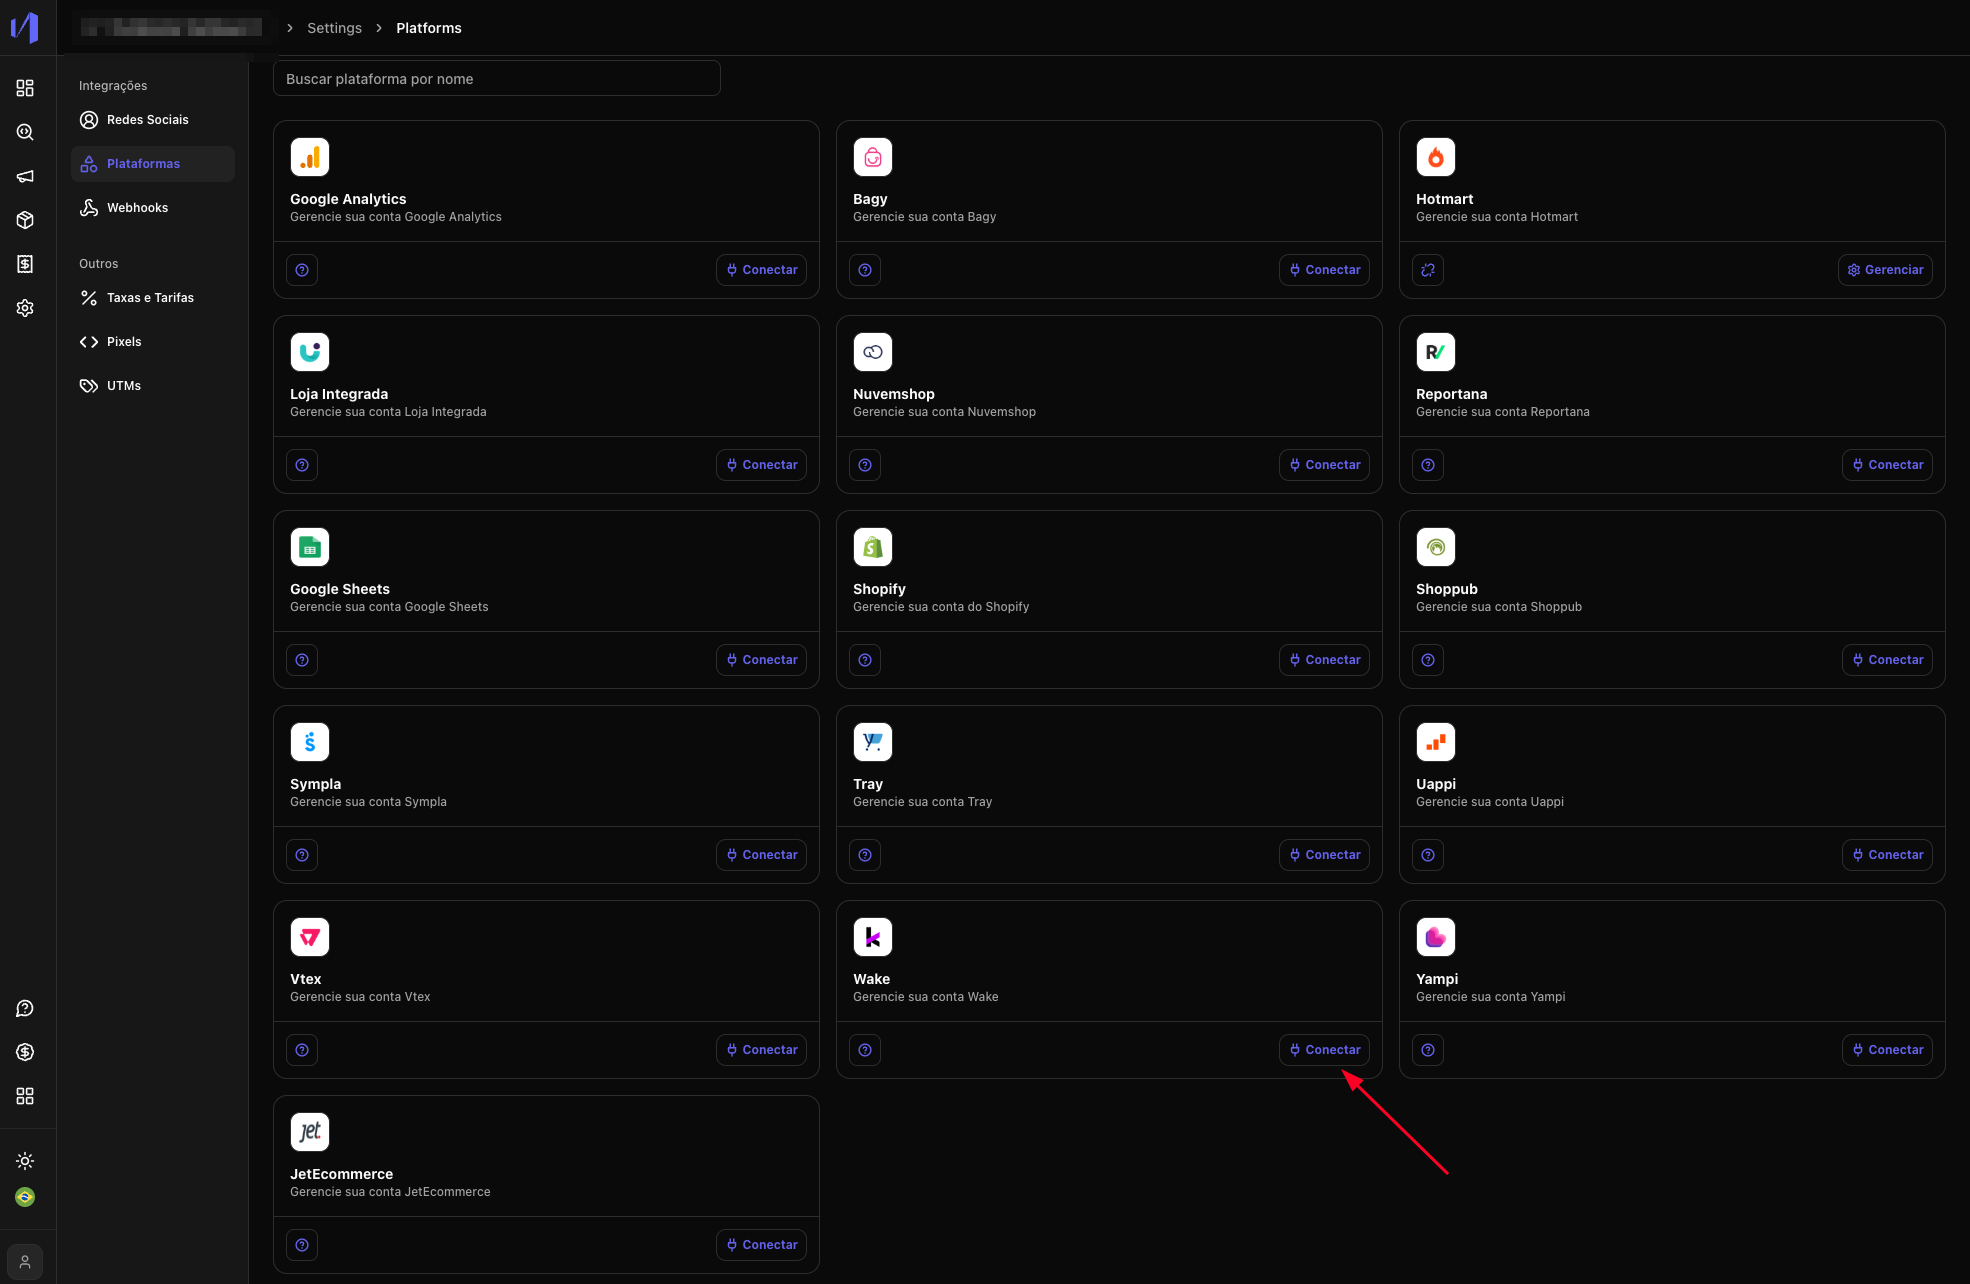
1. In the Nemu Dashboard, go to the **Platforms** menu.
2. Click on **Wake** and then on the **Connect** button.
2. Add **these URLs** to the allowed domains list:
* `https://trackings.nemu.com.br`
* `https://openfpcdn.io`
* `https://ipinfo.io`
* `https://api.ipify.org`
* `https://api.bigdatacloud.net`
### 3. Connecting Wake to Nemu
1. In the Nemu Dashboard, go to the **Platforms** menu.
2. Click on **Wake** and then on the **Connect** button.
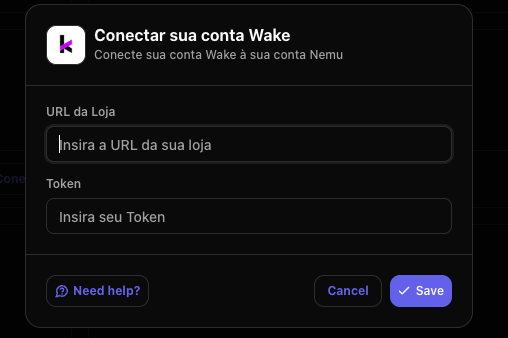
 3. Fill in the requested fields:
* **Store URL** (your Wake store address)
* **Token** (copied earlier in the Wake panel)
4. Click on **Save**.
3. Fill in the requested fields:
* **Store URL** (your Wake store address)
* **Token** (copied earlier in the Wake panel)
4. Click on **Save**.