UTM Passing Script
When to use
If you have a dedicated sales page, you need to install the UTM passing script on the Hotmart checkout page.Why it’s important
The UTM passing script plays a crucial role in transferring UTM information from one page to another within your sales funnel, ensuring this data is tracked until the checkout moment.How to install
- Access the checkout page of your offer on Hotmart
- Add the script below in the
<head>tag of the checkout page - Save the changes
UTM Passing Script
Tracked Parameters
The script automatically captures the following UTM parameters:- src - Traffic source
- sck - Custom tracking key
- utm_source - Campaign source
- utm_medium - Marketing medium
- utm_campaign - Campaign name
- utm_content - Specific content
- utm_term - Search terms
Setting Up Webhooks
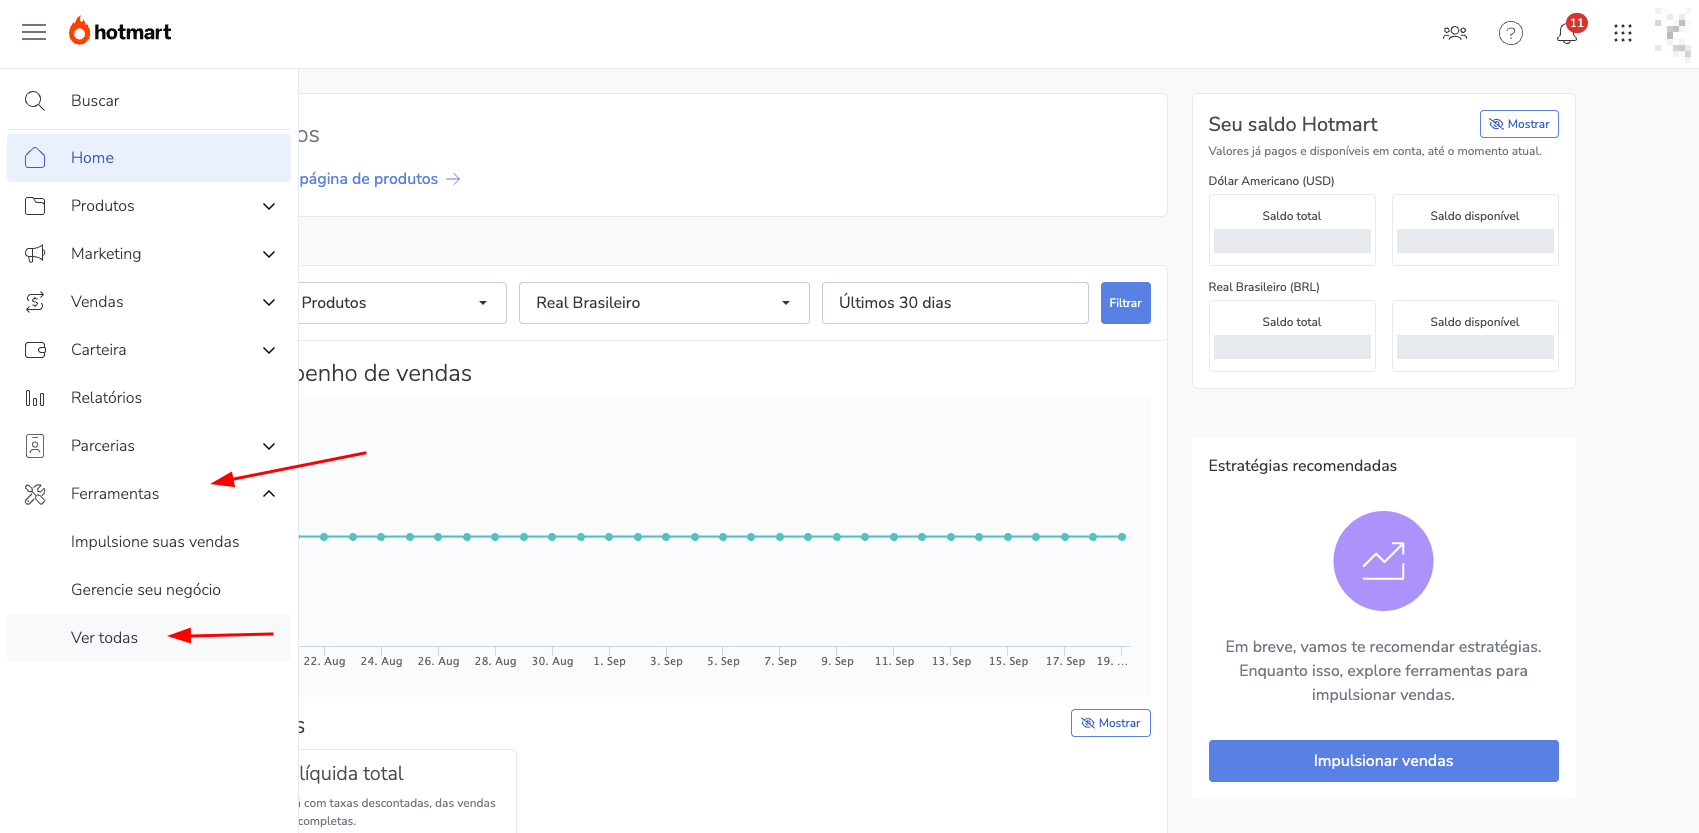
- In the left sidebar, click on Tools and then on View all
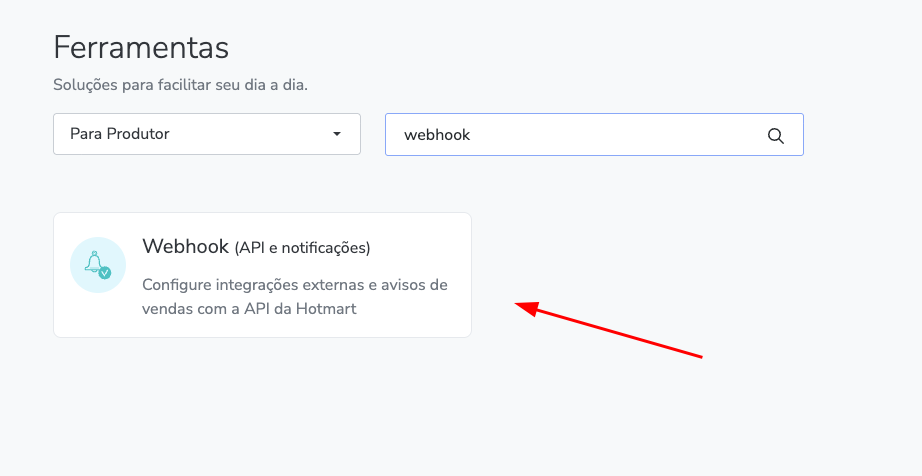
- In the search bar, type: Webhook and click on the displayed card
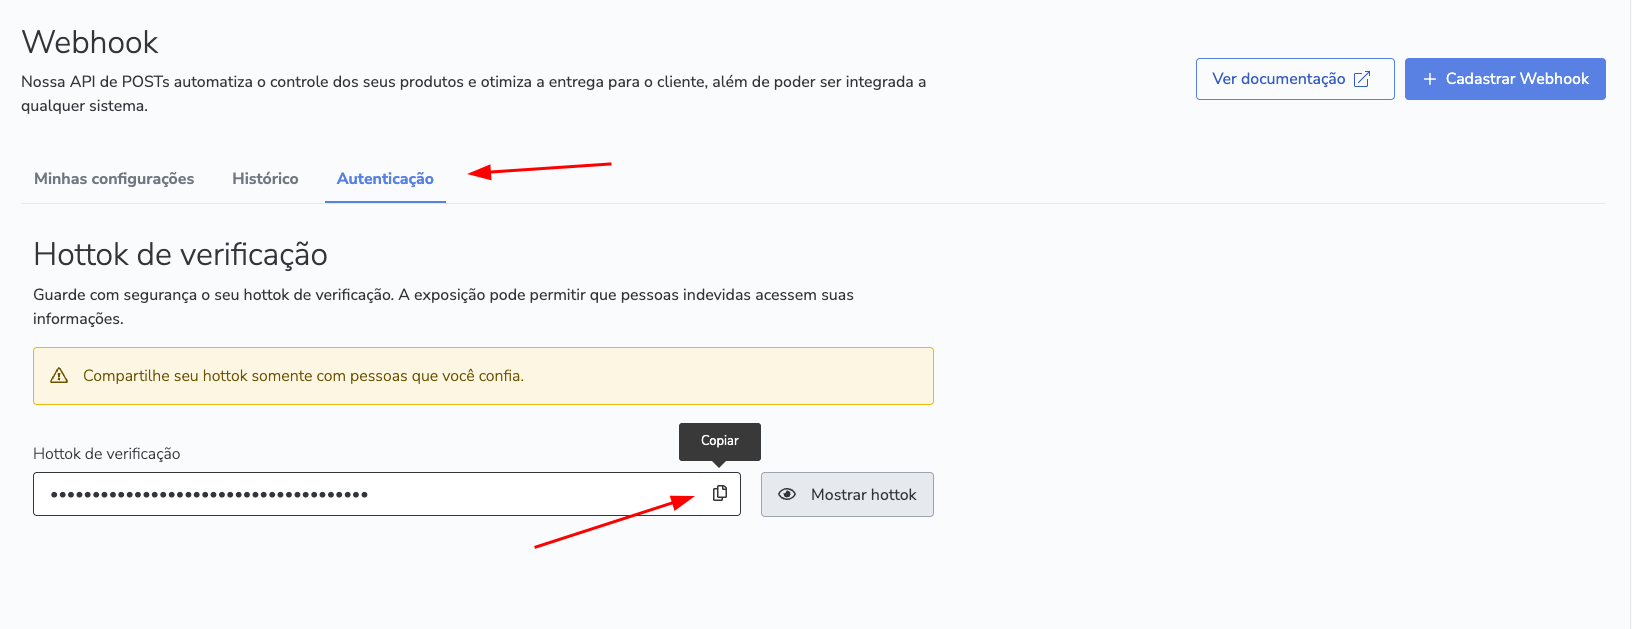
- Go to the Authentication tab and click on Copy to copy the Verification Hottok
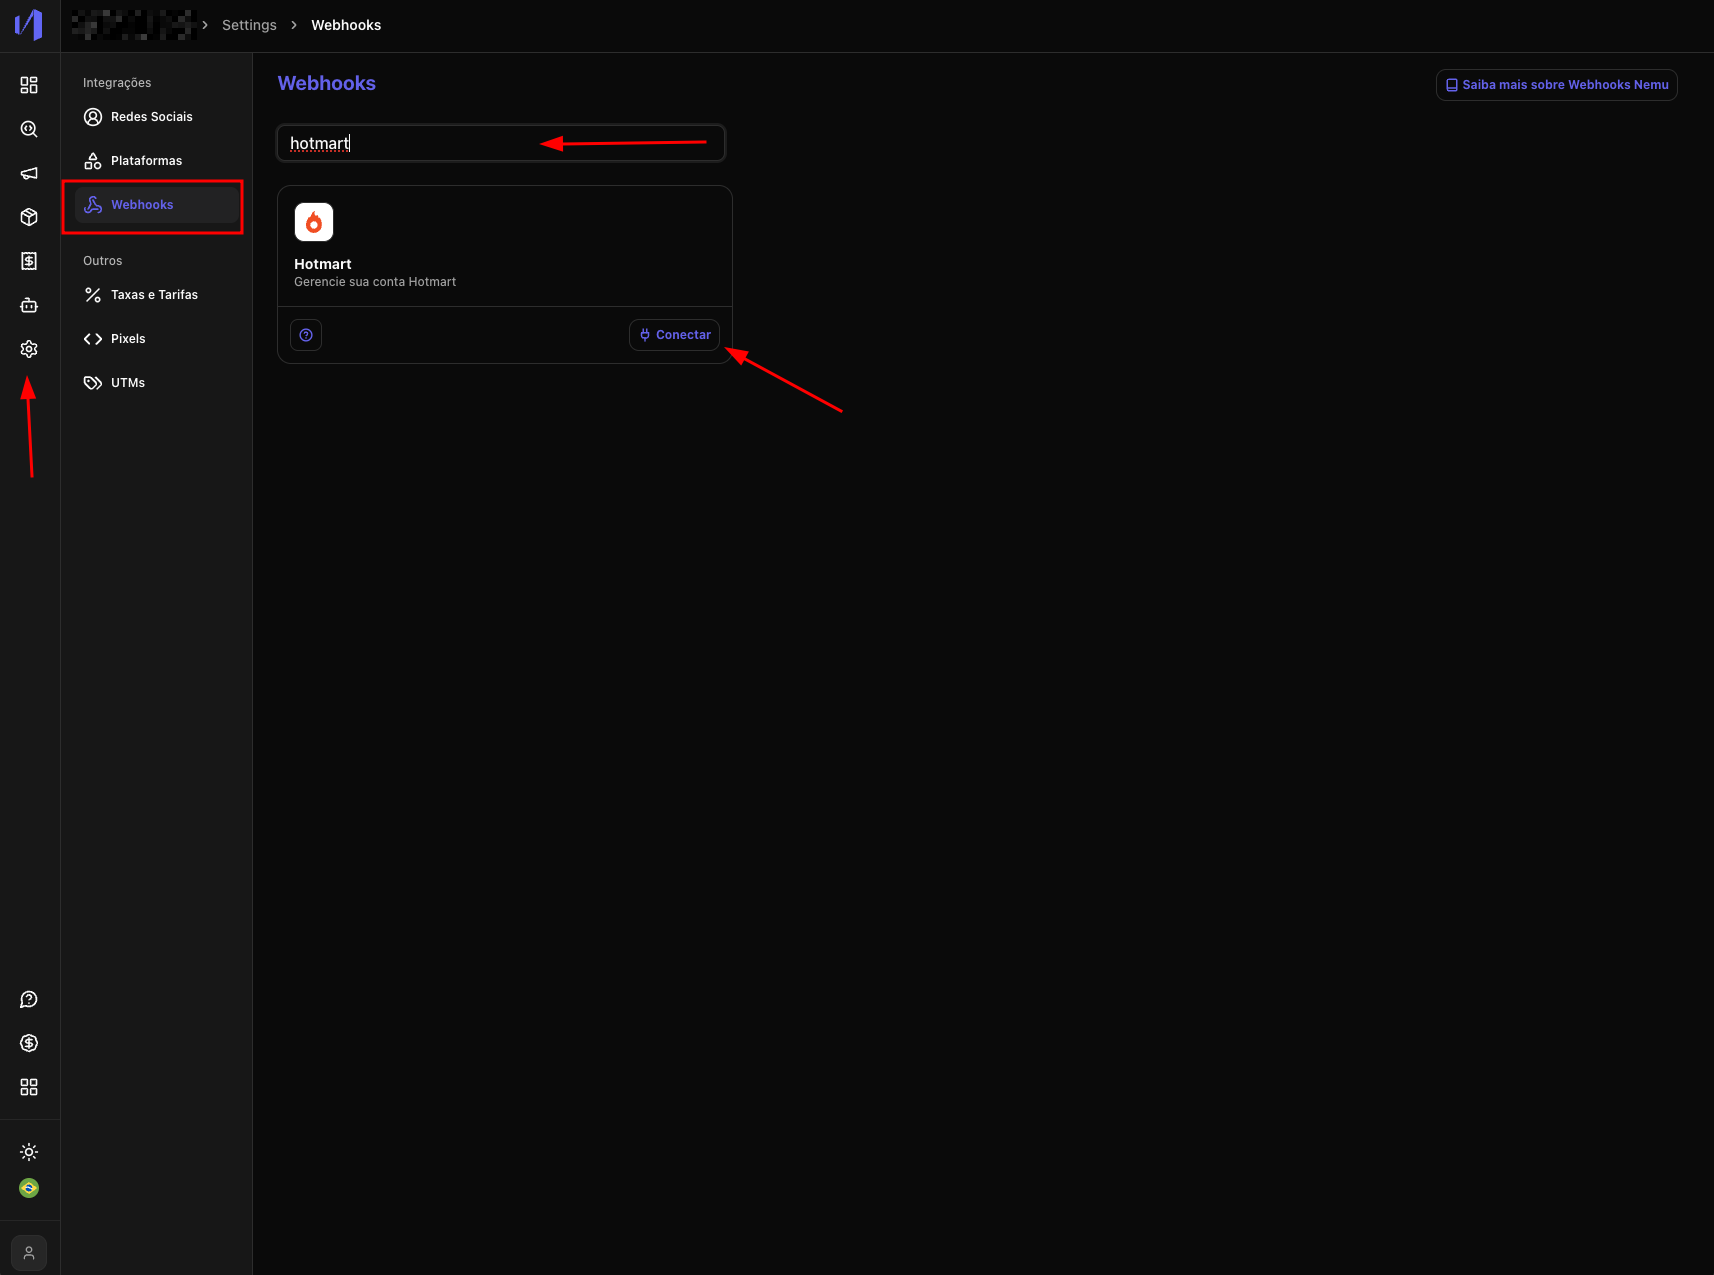
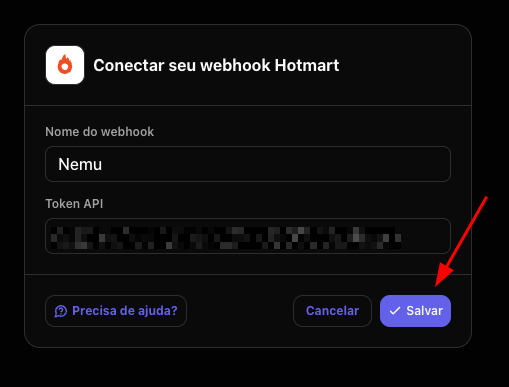
- In Nemu, go to Settings > Webhooks, search for Hotmart and click on Connect
- Define a name for your Webhook, paste your Hottok copied in step 3 and click on Save
- Copy the Webhook URL generated.

- Go back to Hotmart and click on the + Register Webhook button

- Fill in the fields with the information from step 6 and click on Save

- In events, select All and click on Save
