1. Creating and Authenticating the Token in Wake
Wake API authentication is done through a Token. This token validates the merchant’s identity and grants permission to access store information.- Go to Settings > Integrations > Tokens.
- Click on Add Token.

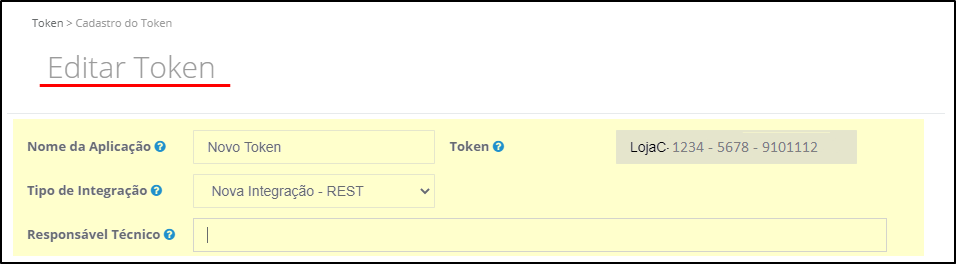
- Define the Application Name to make identification easier.
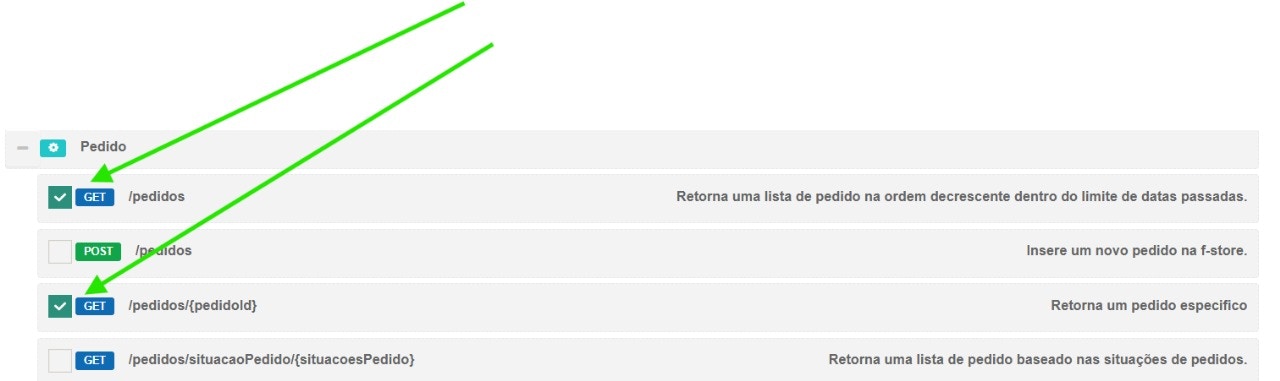
- Configure the permissions that the token will have access to, ensuring it can only access authorized information.
- In Permissions, select the minimum recommended access for Nemu integration:
- In the GestorScript category, select the
POSTmethod for/gestorscripts/scripts

- In the Webhook category, select the
POSTmethod for/webhook/inscricao

- In the Orders category, select the
GETmethod for/pedidosand/pedidos/{pedidoId}
- Enter the technical responsible email.
- Click on Save.
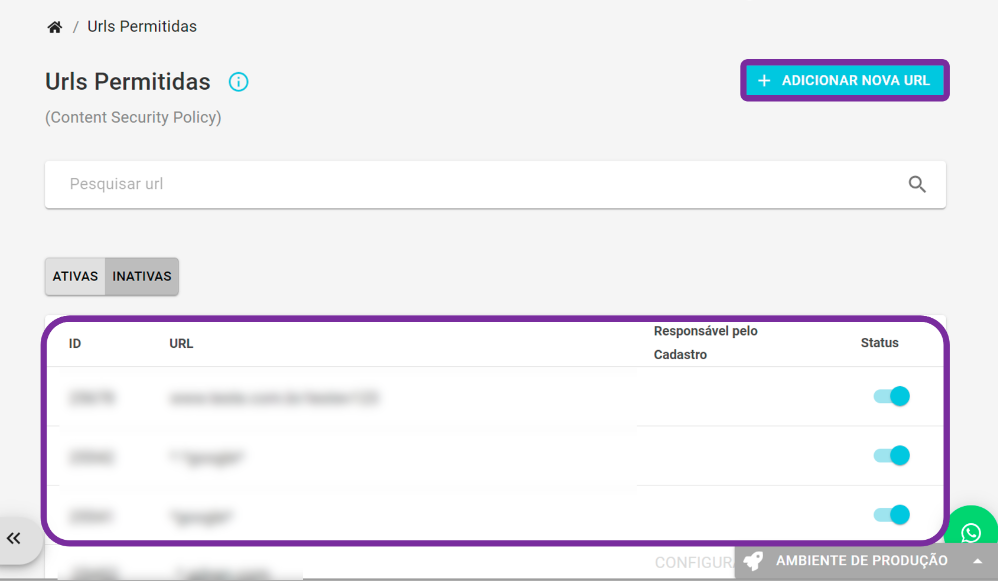
2. Adding Content Security Policies (CSP) in Wake
For Nemu scripts and network calls to work correctly on your Wake store, add the following trusted origins to the Security Policies (CSP) in the Wake panel.-
In the Wake panel, go to Settings → Security → Security Policies (or search for Security Policies).
-
Add these URLs to the allowed domains list:
https://trackings.nemu.com.brhttps://openfpcdn.iohttps://ipinfo.iohttps://api.ipify.orghttps://api.bigdatacloud.net
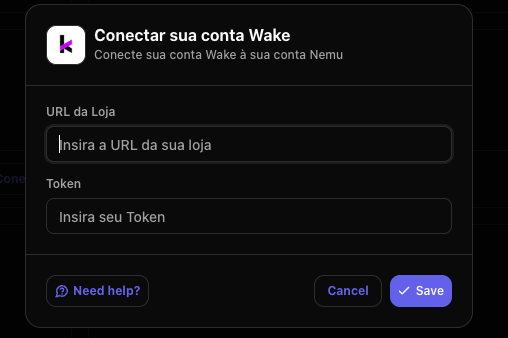
3. Connecting Wake to Nemu
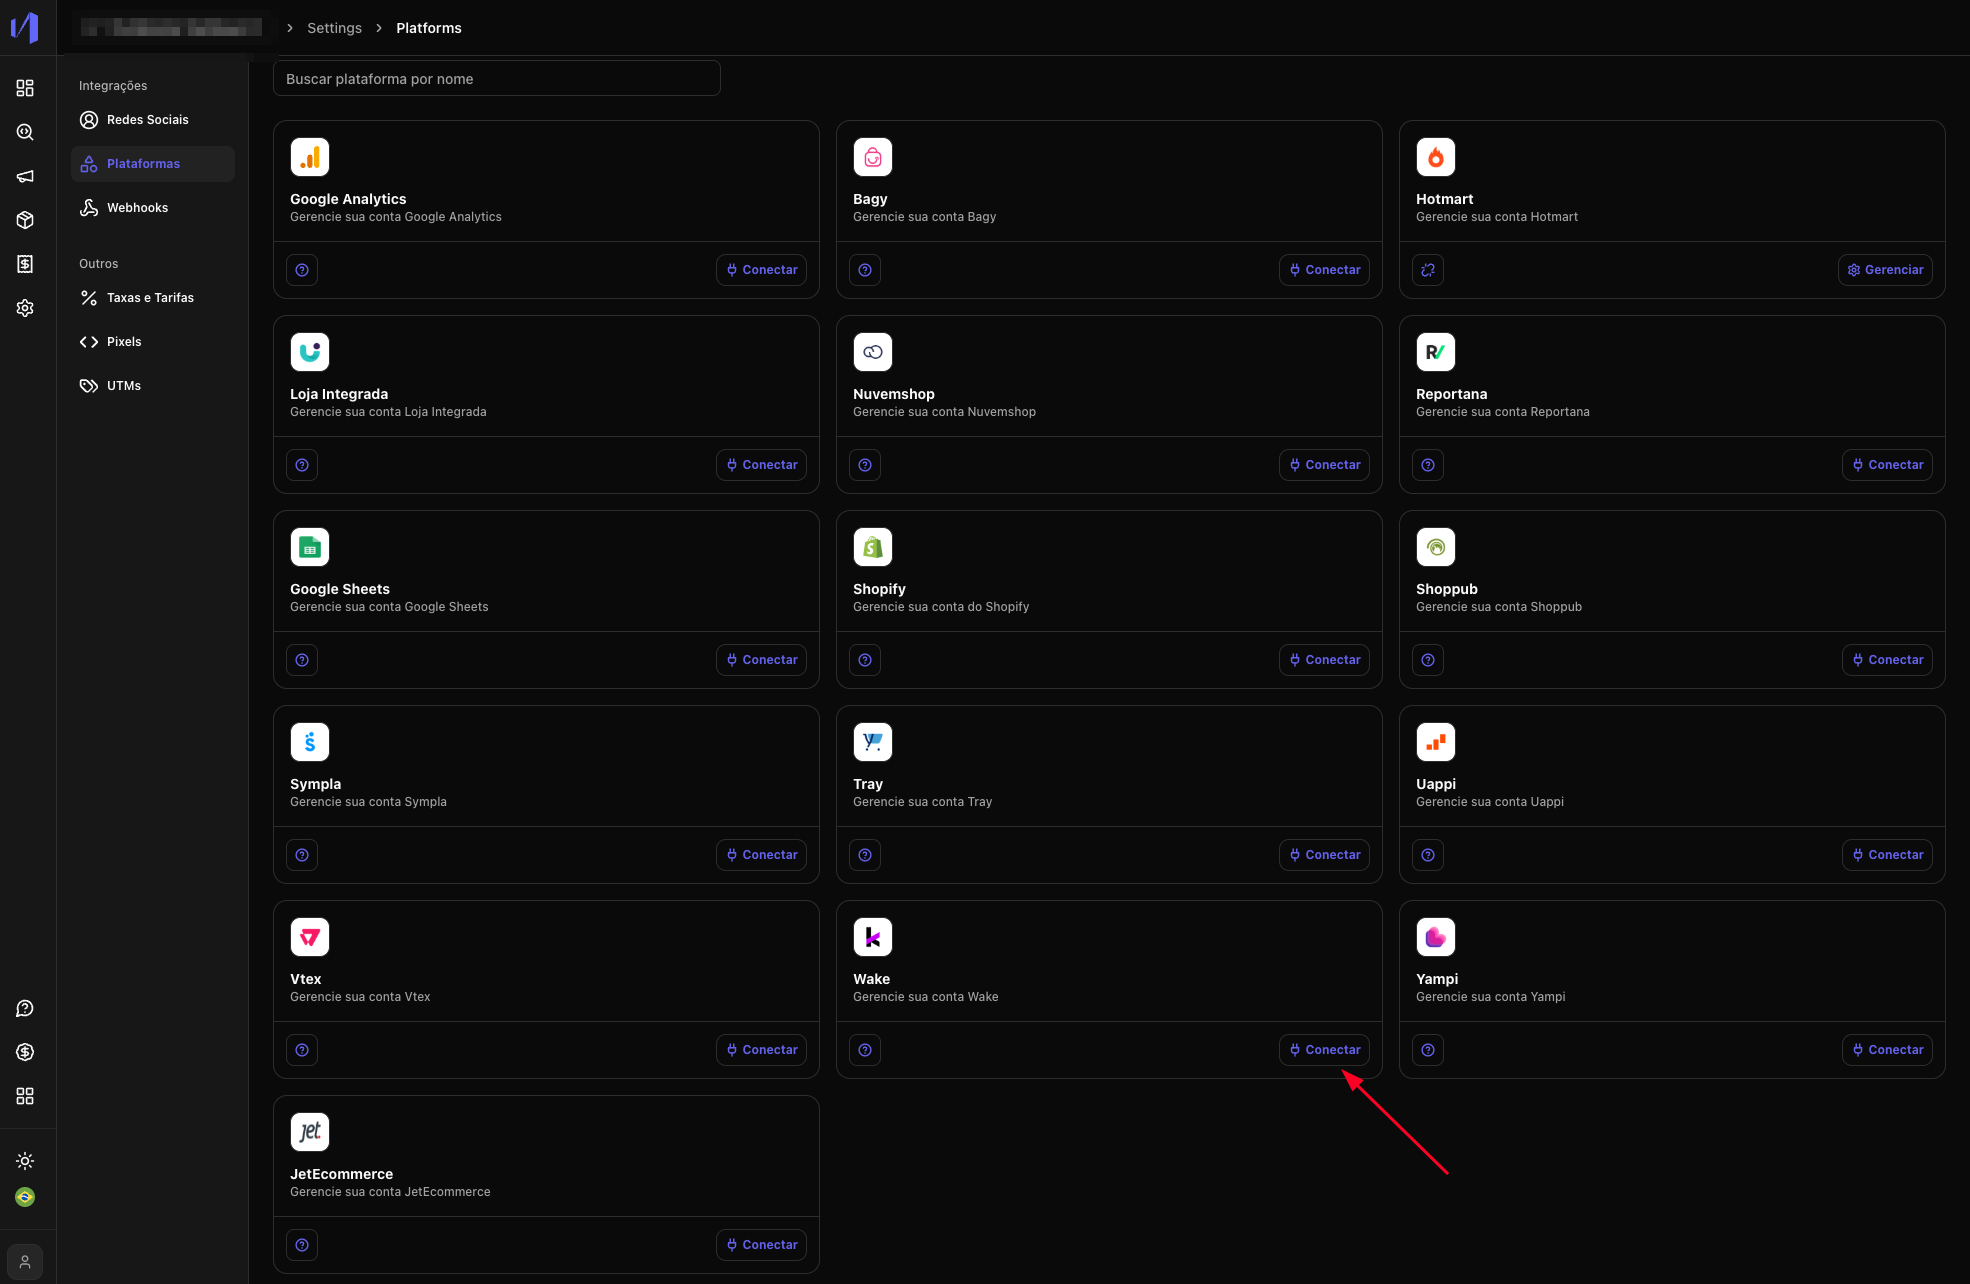
- In the Nemu Dashboard, go to the Platforms menu.
-
Click on Wake and then on the Connect button.
-
Fill in the requested fields:
- Store URL (your Wake store address)
- Token (copied earlier in the Wake panel)
-
Click on Save.